A WiFi thermostat can look compatible until the equipment details come into view. Before buying one for a San Diego home, compare the exact thermostat model with the heating and cooling system it must control.
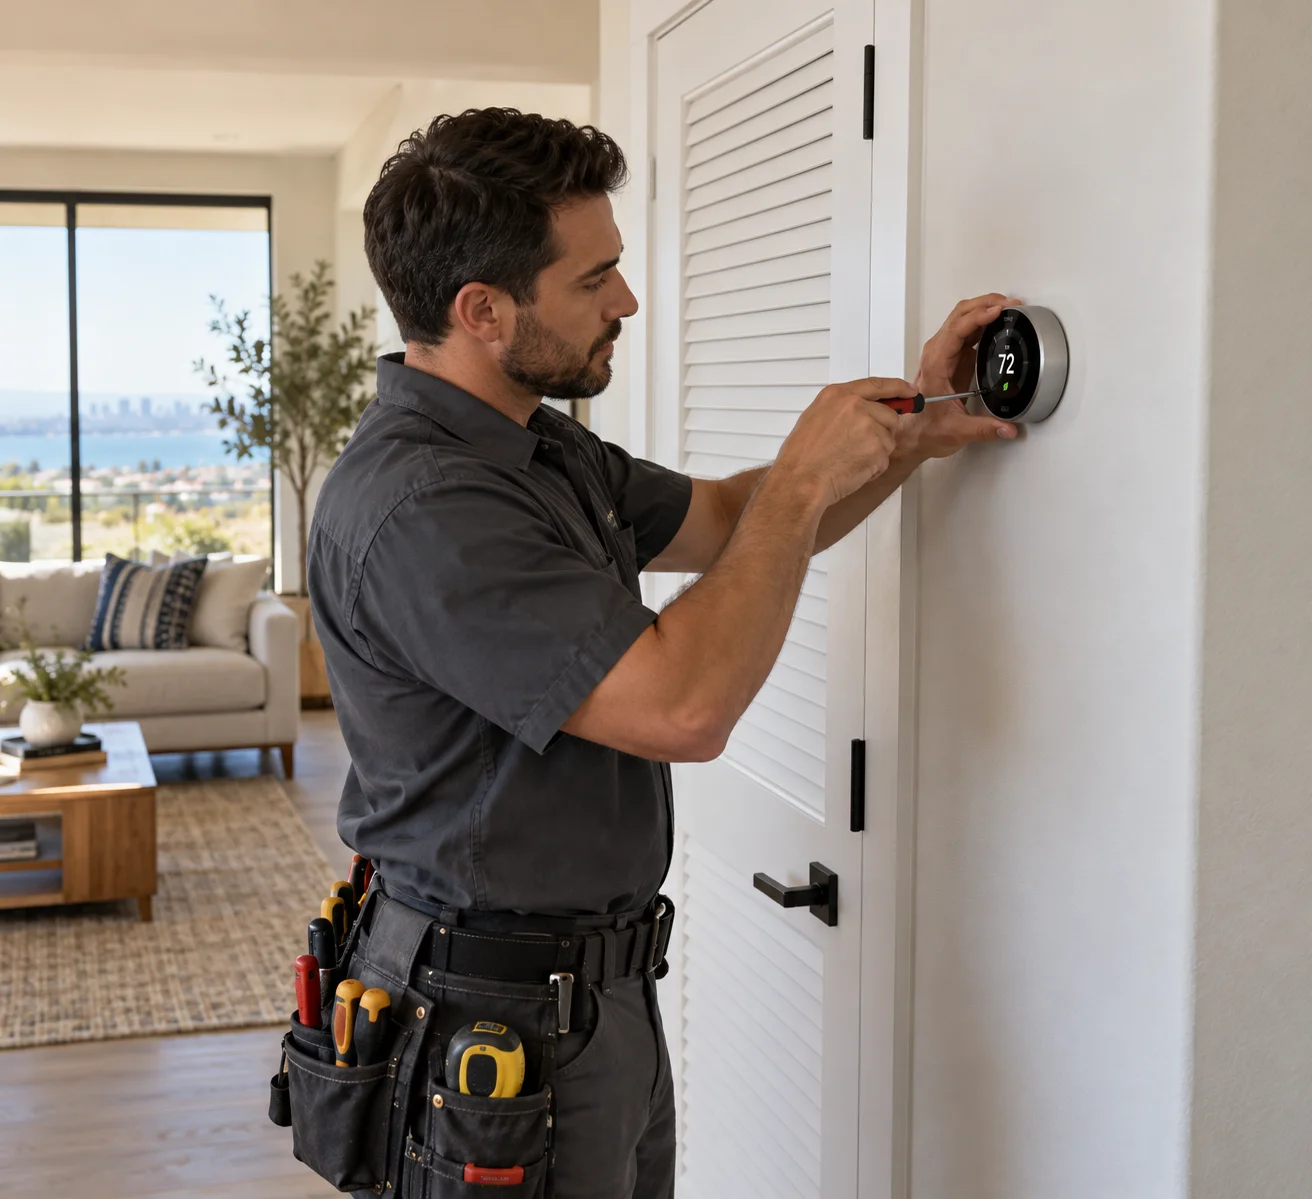
What WiFi control actually needs from the system
Treat “WiFi” as a feature label, not proof of HVAC compatibility. The thermostat maker decides which equipment, connections, and configurations each model supports. Start with its current compatibility checker and installation documentation.
Write down the functions your existing thermostat controls. These may include heating, cooling, fan operation, separate zones, or other connected equipment. Don’t assume a new device supports every function because its display looks similar.
Power requirements deserve their own check. Look at the manufacturer’s instructions for the exact model you want. Compare those instructions with the existing thermostat and HVAC documentation. If the required power arrangement isn’t clear, stop before removing anything from the wall.
WiFi requirements also vary by product. Confirm the maker’s current requirements for the home network, mobile app, account, and supported phone software. Check whether the features you want depend on continued internet access or a separate home automation platform.
A WiFi thermostat and a smart thermostat aren’t always presented as the same product. Some models focus on remote access and schedules. Others advertise learning, sensors, automation, or smart-home connections. Choose the required features first, then verify system compatibility.
Our smart thermostat installation guide covers the broader planning process. For this decision, the thermostat maker’s model-specific rules and the HVAC equipment manual remain the controlling references.
Which equipment details to photograph first
A clear set of photos can prevent a compatibility check based on guesses. Keep equipment closed and don’t disconnect wiring just to get a better picture.
Photograph the front of the existing thermostat while it’s operating. Record the maker and model number if they’re visible. Also note every mode and function you currently use.
Next, photograph the thermostat’s model label and any available system information shown in its menus. If labels aren’t accessible without removing covers, leave them alone for a licensed pro.
Find the HVAC equipment labels that are safely visible from outside the cabinets. Photograph the full label and a closer image where the model number can be read. Include separate indoor and outdoor equipment when both are present. A furnace, air handler, heat pump, packaged unit, or zoning panel may each affect the final match.
Gather these items before using a compatibility checker:
- The proposed thermostat’s complete model number
- Existing thermostat maker and model
- Indoor HVAC equipment model
- Outdoor HVAC equipment model
- Every heating and cooling mode currently used
- Any zoning, remote sensor, ventilation, or humidity controls
- Photos of safely visible labels
- The HVAC manuals, when available
Don’t buy from the front-of-box description alone. Similar product names may cover different models or generations. Our Nest fourth-generation verification guide shows why the complete model and connected equipment matter more than the product family name.
How heat pumps and two-stage units change the check
A WiFi thermostat for a heat pump needs a more specific review than a simple brand comparison. Confirm that the proposed thermostat model supports the exact equipment configuration shown in the HVAC manual.
Don’t identify a heat pump from the thermostat’s appearance. Use the equipment model information, existing documentation, or a licensed HVAC pro’s assessment. The thermostat maker may ask configuration questions that aren’t answered by the wall control alone.
Also record whether the current controls show any additional heating mode. Don’t guess what that mode does or how it should be configured. Match the wording in the equipment manual with the thermostat maker’s instructions.
Staged equipment needs the same care. If an HVAC label, manual, or existing control identifies more than one operating stage, include that detail in the compatibility review. A thermostat that turns heating and cooling on doesn’t necessarily preserve every function of the connected system.
Zoned systems add another layer. Photograph the visible zoning controls and note how many thermostats serve the home. Don’t assume every wall thermostat communicates directly with the main equipment in the same way.
Mini-splits and other equipment with manufacturer-specific controllers also require model-level confirmation. A wall-mounted control isn’t automatically interchangeable with a retail WiFi thermostat.
If you’re comparing particular product families, read our Nest and Ecobee comparison. The better choice is the one whose documented requirements match your equipment and desired controls. A popular model isn’t useful when it drops a function your system needs.
What SDG&E timing has to do with schedules
Compatibility comes first, but scheduling determines whether the thermostat fits how you use the home. This matters across San Diego County because coastal conditions and inland valley heat can feel very different.
The National Weather Service describes ocean moderation near San Diego and warmer summer days in nearby valleys. A schedule for an Encinitas home may not suit a household in Escondido or El Cajon. Occupancy, health needs, shade, and the home itself also shape the decision.
SDG&E’s listed residential time-of-use plans have an on-peak period from 4 p.m. to 9 p.m. Plan terms and rates can change, so confirm your exact plan on SDG&E’s current residential pricing page. Community choice aggregation status can also affect how charges appear.
SDG&E suggests precooling earlier, then setting the thermostat to 78°F or higher from 4 p.m. to 9 p.m., health permitting. That’s utility conservation guidance, not a universal comfort or medical requirement. It also doesn’t guarantee savings.
Before choosing a thermostat, inspect its scheduling controls. Decide whether you need fixed daily periods, manual remote changes, household access, or room sensors. Then verify those functions in the maker’s current documentation.
The main downside of connected controls is added dependence on product software, accounts, and network setup. Confirm what happens when internet access is unavailable and which functions remain available at the wall. The maker’s documentation should answer that for the exact model.
When a licensed pro should confirm compatibility
Bring in a licensed HVAC pro when the equipment type, power requirement, staging, zoning, or control functions remain unclear. Professional confirmation is also sensible when labels conflict, manuals are missing, or the proposed thermostat’s checker gives an uncertain result.
Don’t remove equipment panels or change connections to solve a compatibility mystery. The useful next step is an equipment review, not trial and error. Climate Pros SD can match you with an independent licensed and insured local HVAC professional.
The contractor can compare the equipment models, existing controls, and proposed thermostat documentation. Ask the pro to identify any function the new thermostat wouldn’t preserve. You can also verify a contractor through the CSLB license check.
If the device is compatible, ask the contractor to explain the planned configuration before work starts. You contract with and pay the independent professional directly. Climate Pros SD doesn’t install thermostats, set prices, or provide equipment warranties.
Our thermostat installation service page explains how the referral works. Have your equipment photos and proposed thermostat model ready when you call.
When to call us
Call when a WiFi thermostat match depends on heat-pump controls, staging, zoning, unclear power requirements, or missing equipment records. Call us at (442) 777-6440 and we will match you with a licensed local pro.