Before you call anyone about a ductless system, write down two things: exactly what the indicator light is doing, and what the unit does in the first two minutes after you power it on. Those two observations narrow a mini split fault faster than any other information you can hand a technician.
Scripps Ranch adds its own wrinkle. Homes back onto canyon edges here, eucalyptus drops bark and leaf litter year round, and outdoor units sit in it. A meaningful share of the ductless service calls in Old Scripps Ranch, the Aviary, and Miramar Ranch North trace back to what’s packed against the condenser rather than to the equipment itself.
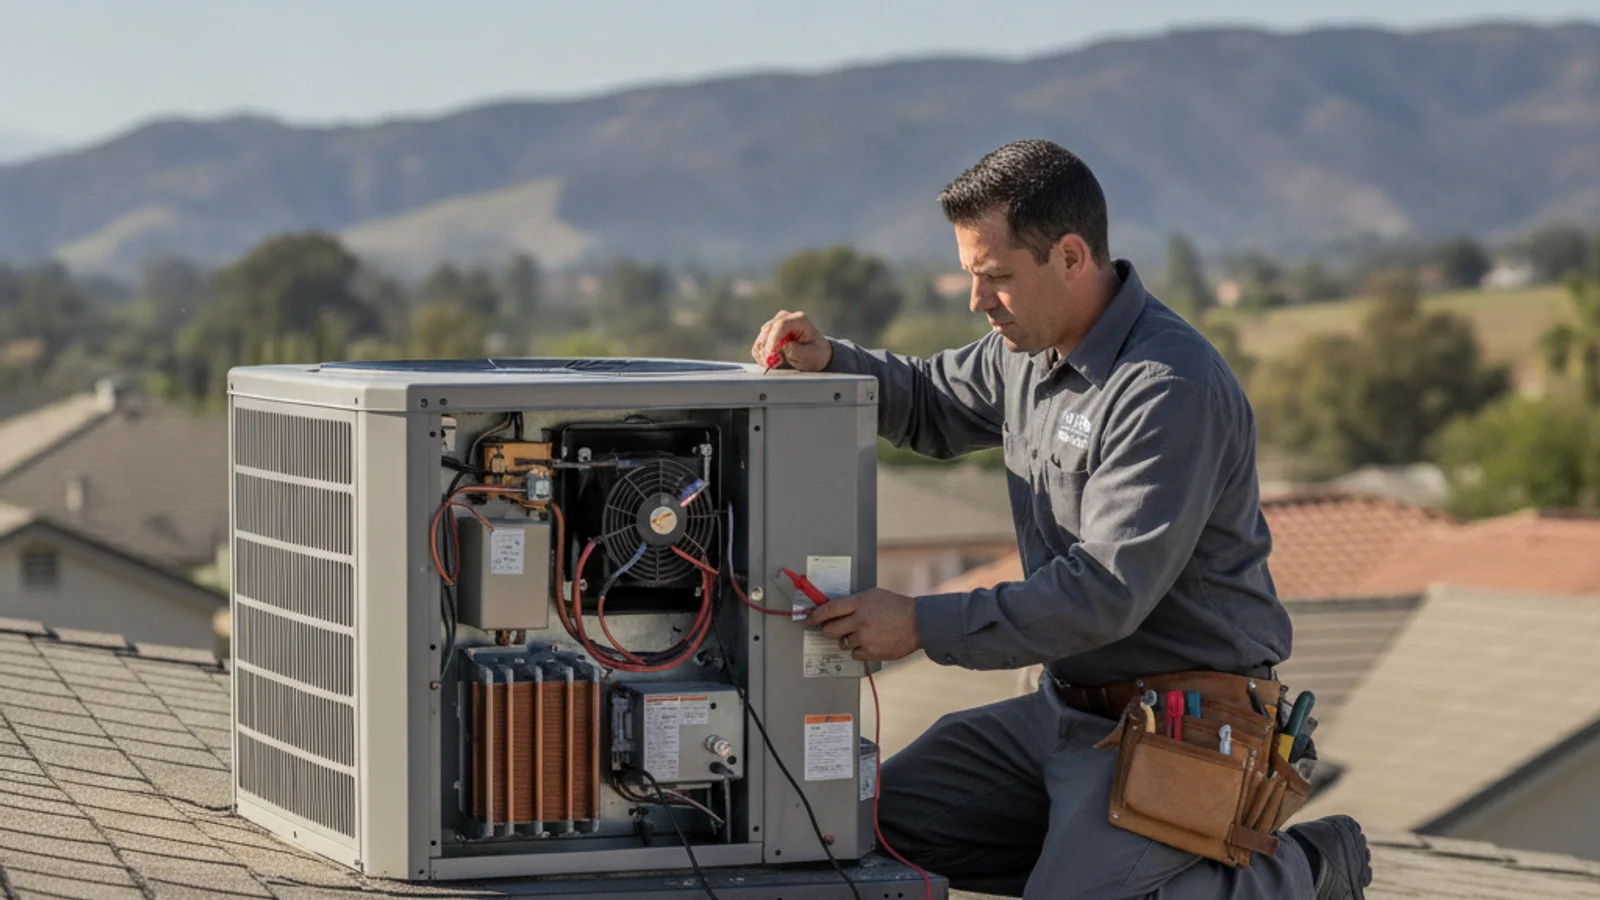
Scripps Ranch mini split: write the light pattern first
The indoor LED or error code plus the first two minutes after power-on narrow inverter faults faster than a guessed capacitor. Attic-concealed indoor units in Scripps Ranch add access time. Say whether the head is a wall cassette or a ducted attic unit.
Checklist
- Photograph the indicator.
- Note outdoor unit behavior.
- See Fujitsu not cooling.
- See HVAC maintenance Scripps Ranch.
- Use Scripps Ranch HVAC.
Related: Mini split installation and AC repair.
Record the indicator pattern before you do anything else
Ductless heads report faults by blinking. The pattern is the diagnostic, and it’s specific to the manufacturer: Mitsubishi, Daikin, LG, Fujitsu, and Carrier each define their own sequences, and some combine a steady lamp with a blinking one to mean something different from either alone.
Count it properly. Note which lamp is blinking, how many flashes come before the pause, how long the pause runs, and whether the pattern repeats identically every cycle. Photograph it with your phone if the sequence is long. Then find the model number on the sticker inside the front cover of the indoor head and write that down too.
Why bother: with the model and the code, a technician can look up the fault before arriving and often bring the likely part. Without it, the first visit is discovery. On a multi-zone system, note whether every head shows the code or only one, because that single detail separates an outdoor-unit or communication fault from a problem confined to one zone.
Resetting power will usually clear the display. That’s fine to try once, but do the recording first. A cleared code with no record of what it said is genuinely lost information, and the fault typically comes back anyway.
Water running down the wall under the indoor head
This is the most common ductless-specific complaint and it’s rarely the equipment failing. The indoor head produces condensate, which leaves through a small drain line running through the wall to a discharge point outside. When that line restricts, the pan fills and water finds the front of the cabinet.
Restrictions build slowly from dust, biological growth in the pan, and mineral deposits. Outdoors, the discharge end of the line is a favorite spot for spiders and, on canyon-adjacent lots, for debris to pack in against the outlet. Walk outside and look at where the line terminates before assuming anything internal.
Slope is the other cause, and it’s an install defect rather than a wear item. A drain line that runs flat or dips into a low spot will work for a season and then stop. If your unit has always dripped occasionally since it went in, that’s the likely reason.
Some heads mounted high on a wall use a small condensate pump to lift water to a drain point. Pumps fail, and when one does, water backs up regardless of how clean the line is. A pump usually announces itself with a faint buzz or a float switch that shuts the head down on a fault code instead of letting it overflow. If your unit trips off on a code every humid afternoon and resets after it sits, look at the pump and the float.
Weak airflow, and the smell that comes with it
A ductless head with declining output and a musty note when it starts is usually telling you the blower wheel is fouled. The wheel is a small squirrel cage inside the indoor unit, and it loads up with a felt of dust and biological film over a few years. The mesh filter catches the coarse material, but plenty gets past it.
You can rinse the mesh filters yourself, and you should, monthly during heavy use. Pop the front cover, slide them out, rinse, dry fully, and reinstall. That alone restores a surprising amount of airflow on a neglected unit.
The blower wheel is a different job. Cleaning it properly means bagging the unit, removing the cover and often the drain pan, and washing the wheel and the evaporator coil with a coil cleaner. It’s messy, it involves working around electrical components and the refrigerant coil, and doing it badly bends the wheel vanes or floods the control board. This is technician work.
Scripps Ranch homes with heavy canyon exposure and open windows in spring pick up more pollen and fine debris than a sealed inland tract house does. If your unit runs most of the year, ask about the manufacturer’s recommended interval for a deep indoor cleaning and put it on a schedule rather than waiting for the smell.
The outdoor unit and what the canyon puts in it
Go look at the condenser. On the lots backing to Sycamore Canyon and along the wooded stretches of Old Scripps Ranch, the fin surface collects eucalyptus bark, seed capsules, and leaf litter that mats against the coil face. A blocked coil can’t reject heat, so the system runs long, cools poorly, and eventually trips on a high-pressure fault.
Clear the debris from around the cabinet and keep planting back from it. Manufacturers publish minimum clearances on all sides and above, and landscaping that grew in over five years is a common quiet cause of declining performance. Rinsing the coil face with a garden hose from the inside out is homeowner-safe with the power off. A pressure washer is not: it folds fins flat and makes the problem permanent.
Fire-season conditions add ash. After a Santa Ana event or a nearby burn, the coil face and the mesh filters both load faster than usual, and Scripps Ranch sits in a high fire-risk area where those events are part of the calendar.
If the outdoor fan won’t spin at all, or the unit hums without starting, stop. That points to a capacitor, a contactor, a fan motor, or a control board, all of which sit behind a panel with live line voltage.
Slow cooling that never quite arrives
A system that runs constantly and holds the room a few degrees off the setpoint, with no fault code and clean filters, is the classic low-charge symptom. Ductless systems leak differently than central AC because the line set is long, exposed, and joined with flare fittings that can weep over time.
This isn’t a sensible homeowner fix. A pro should handle refrigerant work, and topping off a leaking system without finding the leak just puts the same charge outdoors again. The correct sequence is a leak search, a repair at the joint or component, an evacuation, and a weighed charge to the manufacturer’s specification.
Ask the technician what they found and where. A flare joint at the outdoor service valves is a repair. A pinhole in a coil is a bigger conversation about the age of the system. For a countywide view of how ductless failures sort out, our mini split repair guide for San Diego covers the same failure set with broader cost context, and ductless versus ducted systems is worth reading if replacement is on the table.
When to call us
Filters, debris, and a look at the drain outlet are yours. Anything behind a panel, anything involving refrigerant, and any repeating fault code needs a licensed pro with gauges and the manufacturer’s service data. Local coverage sits on the Scripps Ranch HVAC service page, and repair scope is on our AC repair page. Call us at (442) 777-6440 and we will match you with a licensed local pro.